Happy Boxing Day! Hope Santa brought you all some sewing goodies!
Now this is one of my earlier Tutorials from my previous blog, so I apologise now for the lack of proper lighting shots!
Welcome to my Tutorial for Simple Sew’s Raglan Dress, which of course is a part of the Capsule Wardrobe Collection ?
I’m showing you how to make this Dress in Jersey so it is a quick and easy make with no zip insertions so It’s great if your new to sewing but if you are making this Dress in a cotton fabric you’ll need to apply interfacing to your neck facings and to insert an invisible zip but I’ve show you how to do that in my Nancy Tunic Tutorial .

As always make sure you launder your fabric prior to you starting to cut your pattern pieces out as this allows for shrinkage as it would be a complete shame not to do this before hand and to make an awesome staple Dress, wear it and love it then to put in the wash where it’ll shrink and the dress would be too small to wear!
First open up the envelope and make yourself a brew and read the instructions and make a list of materials/equipment you need if you don’t have them already so no last minute dash to the local haberdashery store or waiting days for online orders lol!
My Construction list:
Simple Sew Raglan Dress Pattern
2.5m of the ever so beautiful Art Gallery Petal & Plume Panache Profundo Knit from WhitreeFabrics. It’s a 95% Premium Cotton and 5% Spandex Knit and its 60″ wide which was perfect weight for this dress and feels really nice too!
Guterman Thread – There’s no other thread like it in my opinion, you do need good quality thread as it does show in your creations.
Paper Scissors – For cutting Pattern Pieces out as these will blunt and make cutting fabric out quite uneven!
Fabric Scissors/ Rotary Cutter
Cutting Mat
Pins
Tailor’s Chalk – For marking on fabric that soon rubs away
French Curve – handy for getting those straight lines whilst tracing or to grade in between sizes if your measurements are in between sizes.
Pencil for marking out the pattern of course
Iron and Ironing Board
And last but not least the Trusty Sewing Machine, Normal sewing foot
Now then, you can go ahead and cut straight into the paper pattern to the size you require and to make sure you add any nothces/markings onto the paper then cut out the pieces?
According to my measurements i had to grade to 14 for the hips but Size 12 for the Bust and Waist (too much eating and not enough exercise lol!) but that is easy enough to do like I’m going to show you here:
The Waist point of this dress is the middle of the double pointed dart and shown here is where i have marked on the pattern to start grading to the 14.

Now you can see here I’ve drawn a slight curve from the waist and graded it to the 14 mark and then carried on that line to the bottom of the dress so its not just a huge jump and for it to look like its meant to be 🙂

Remember to do the same for the back piece too
Now after grading if you needed to, you should have the following pattern pieces:
1 x Front Piece, 1 x Back Piece, 1 x Sleeve, 1 x Front Neck Facing and 1 x Back Neck Facing
Now with myself making the Jersey version of this dress i don’t need to add any interfacing to the Neck Facings? and when it comes to cutting out the Back Bodice Piece:
Fold at the Line where it says cut here for Jersey fabrics and with myself following the pattern of my fabric i’d placed the Back Bodice Piece face down so you will still have the right way of the pattern on my fabric to your other pieces and also for ease as I am using Jersey i’d place the pattern on the fold of the fabric rather than having 2 separate back bodice pieces as we don’t need a zip for this version!
Fold the fabric Right Sides Together selvedge to selvedge and places the pattern pieces on the top. Align the straight grain line on the pattern piece to grain of the fabric and pin down the pieces.
Then of course cut away!
Now onto Sewing the Darts!
A handy tip for the darts i put a pin through the paper and fabric then gently pull away the paper to leave the pin in the fabric then match up the lines to the bottom of the dart with tailors chalk for ease of sewing.
Now with Darts, I tend to start from where the Dart ends so its easier to keep that perfect sewn line just to remember don’t back stitch here just tie the ends together as this prevents the dart looking bulky not a good look to have madonna style points LOL! But back stitch at the end of the dart (the widest bit) to secure.
Now repeat for the other side and press them so that they are facing the centre, now onto the Diamond Darts!
Now these can be a bit fiddler to sew as you start from the middle of the dart then sew all the way to the end and then repeat gain from the middle to the other end. So remember not to back stitch at the middle and at the ends like I’ve shown here and just make a knot?
Now you should have the Front Bodice with 2 bust darts and 2 Diamond Darts and the Back Bodice has 2 Diamond Darts
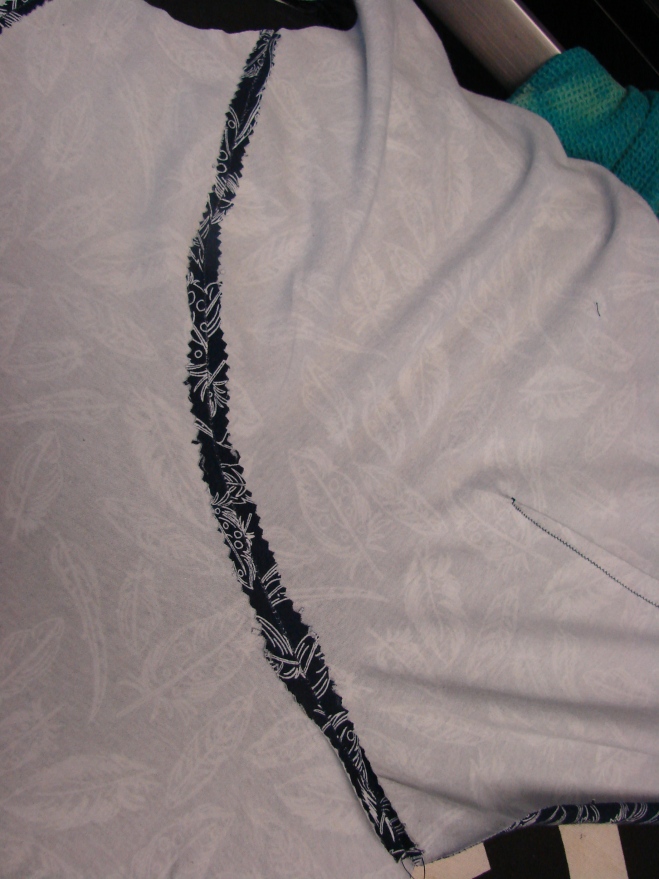
Now with the Right Side Together attach front side of sleeve to front bodice. Remember the notches? Now its easier enough to match up the single notch with the single notch of the front bodice. Repeat for the other sleeve.Press the seam open. Then finish the seams, I’ve used my pinking shears as I’m using Jesery but if i was using cotton i would use a zig zag stitch to neaten them so they wouldn’t fray.
With Right Side Together attach back bodice sleeve to the back side of the sleeve. Remember to match up he double notches? and repeat for the other side, press the seam open and neaten the seams.
Now to sew together the Neck facing with Right Sides Together like shown below:
Right Sides Together with the Bodice pin neck facing in place and then stitch all the way around from centre back to centre back like shown below.
Snip into seam allowance all the way around, stopping at the stitch line, this will allow facing to lie flat. Turn facing through to inside of dress and press flat.
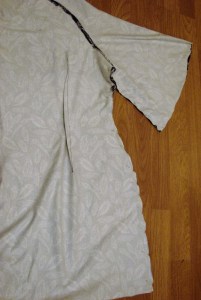
Right Sides Together stitch all the way from the sleeve hem to the skirt hem to close the side seams of the dress, press the seams and neaten. Repeat for both sides.
Woo-hoo nearly there! Now onto the hemming sleeves, now with myself only being petite the sleeves were far to long for my liking so i had to take 3 inches of mine but if you are of normal statue I’m sure the sleeve length would be okay?
Turn up sleeve hem by 1cm, press and stitch in place, press and neaten.
Turn up skirt hem by 1cm, press, stitch in place and neaten the edges. Now i didn’t have to take any length off this and I’m only short so it’d best be wise to give the bodice pattern pieces a measure to see where it’ll come to for your preferred length.
And voila! Here is your super quick and easy Raglan Dress!
A big Thank you to Whitree Fabrics for supplying me with the ever so gorgeous Art Gallery Jersey it is definitely a premium jersey it has such a lovely drape and weight to it.
So remember peeps Sewing is meant to be enjoyable and to have that satisfaction of making your own clothes is awesome so if you do get stuck please get in touch and i can help before you abandon it?
Sal xx


Hey Sally, this post is really informative – thanks for sharing. I love that fabric and the final make looks really good on you!
Thanks Claire xx
Thanks for sharing – this is so helpful for a first-time sewer!