


An oldie but a goodie Tutorial from last year! Finally getting round to uploading my previous Tutorials!
Welcome to my Tutorial for Simple Sew’s Tunic Top and Dress. Today, I’ll be showing you how to complete the Dress and to add contrasting cuffs for a bit ‘pop’!
This Pattern is one of three freebies with Sewing Made Simple where you can buy it from your Asda or Tesco Supermarket or here if you can’t find in person.
It’s packed with some of the best dressmaking projects from Love Sewing plus three exclusive Simple Sew patterns.
You’ll find everything you need here to sew up your Autumn/Winter wardrobe with the chic Nancy tunic dress and top pattern with optional Peter Pan collar, the ever-so-stylish Alexa dress pattern (as a paper pattern for the first time) and you’ll be itching to sew up versatile classic culottes.
Its a great mag with lots of ideas to get you started and also showing you techniques too.
As always make sure you launder your fabric prior to you starting to cut your pattern pieces out as this allows for shrinkage as it would be a complete shame not to do this before hand and to make an awesome autumn staple, wear it and love it then to put in the wash where it’ll shrink and the dress would be too small to wear!
First open up the envelope and make yourself a brew and read the instructions and make a list of materials/equipment you need if you don’t have them already so no last minute dash to the local haberdsary store or waiting days for online orders lol.
My choice of brew today withe gold ol’ fashioned Cup of Tea!

My Construction list:
2.5m of Michael Miller Flock in Navy – Which was kindly provided to me by Sew Scrumptious. where it can be purchased here
0.5m of Makeower Basics Collection – Tiny Dots Yellow 100% Premium Cotton – Which was kindly given to me by And Sew Forth, where you can purchase it here
0.50m Medium Weight Interfacing
16″ Concealed Zip (It does state 22″ for the Dress and 16″ for the Top but with myself being petite i don’t need a long zip lol!)
Guterman Thread – There’s no other thread like it in my opinion, you do need good quality thread as it does show in your creations.
Paper Scissors – For cutting Pattern Pieces out as these will blunt and make cutting fabric out quite uneven!
Fabric Scissors
Pins
Tailor’s Chalk – For marking on fabric that soon rubs away
Greaseproof Paper – Tracing the Pattern onto as for some reason i don’t want to chop up my paper patterns just in-case i need to make for a gift. Also a great alternative to expensive Dress Making Paper.
French Curve – handy for getting those straight lines whilst tracing or to grade in between sizes if your measurements are in between sizes.
Pencil for marking out the pattern of course
Dress Making Pins/Weights
Iron and Ironing Board
And last but not least the Trusty Sewing Machine, Normal sewing foot, Invisible Sewing Foot and an optional extra Overcasting Foot if your using the Overlock stitch rather than Zig Zag.
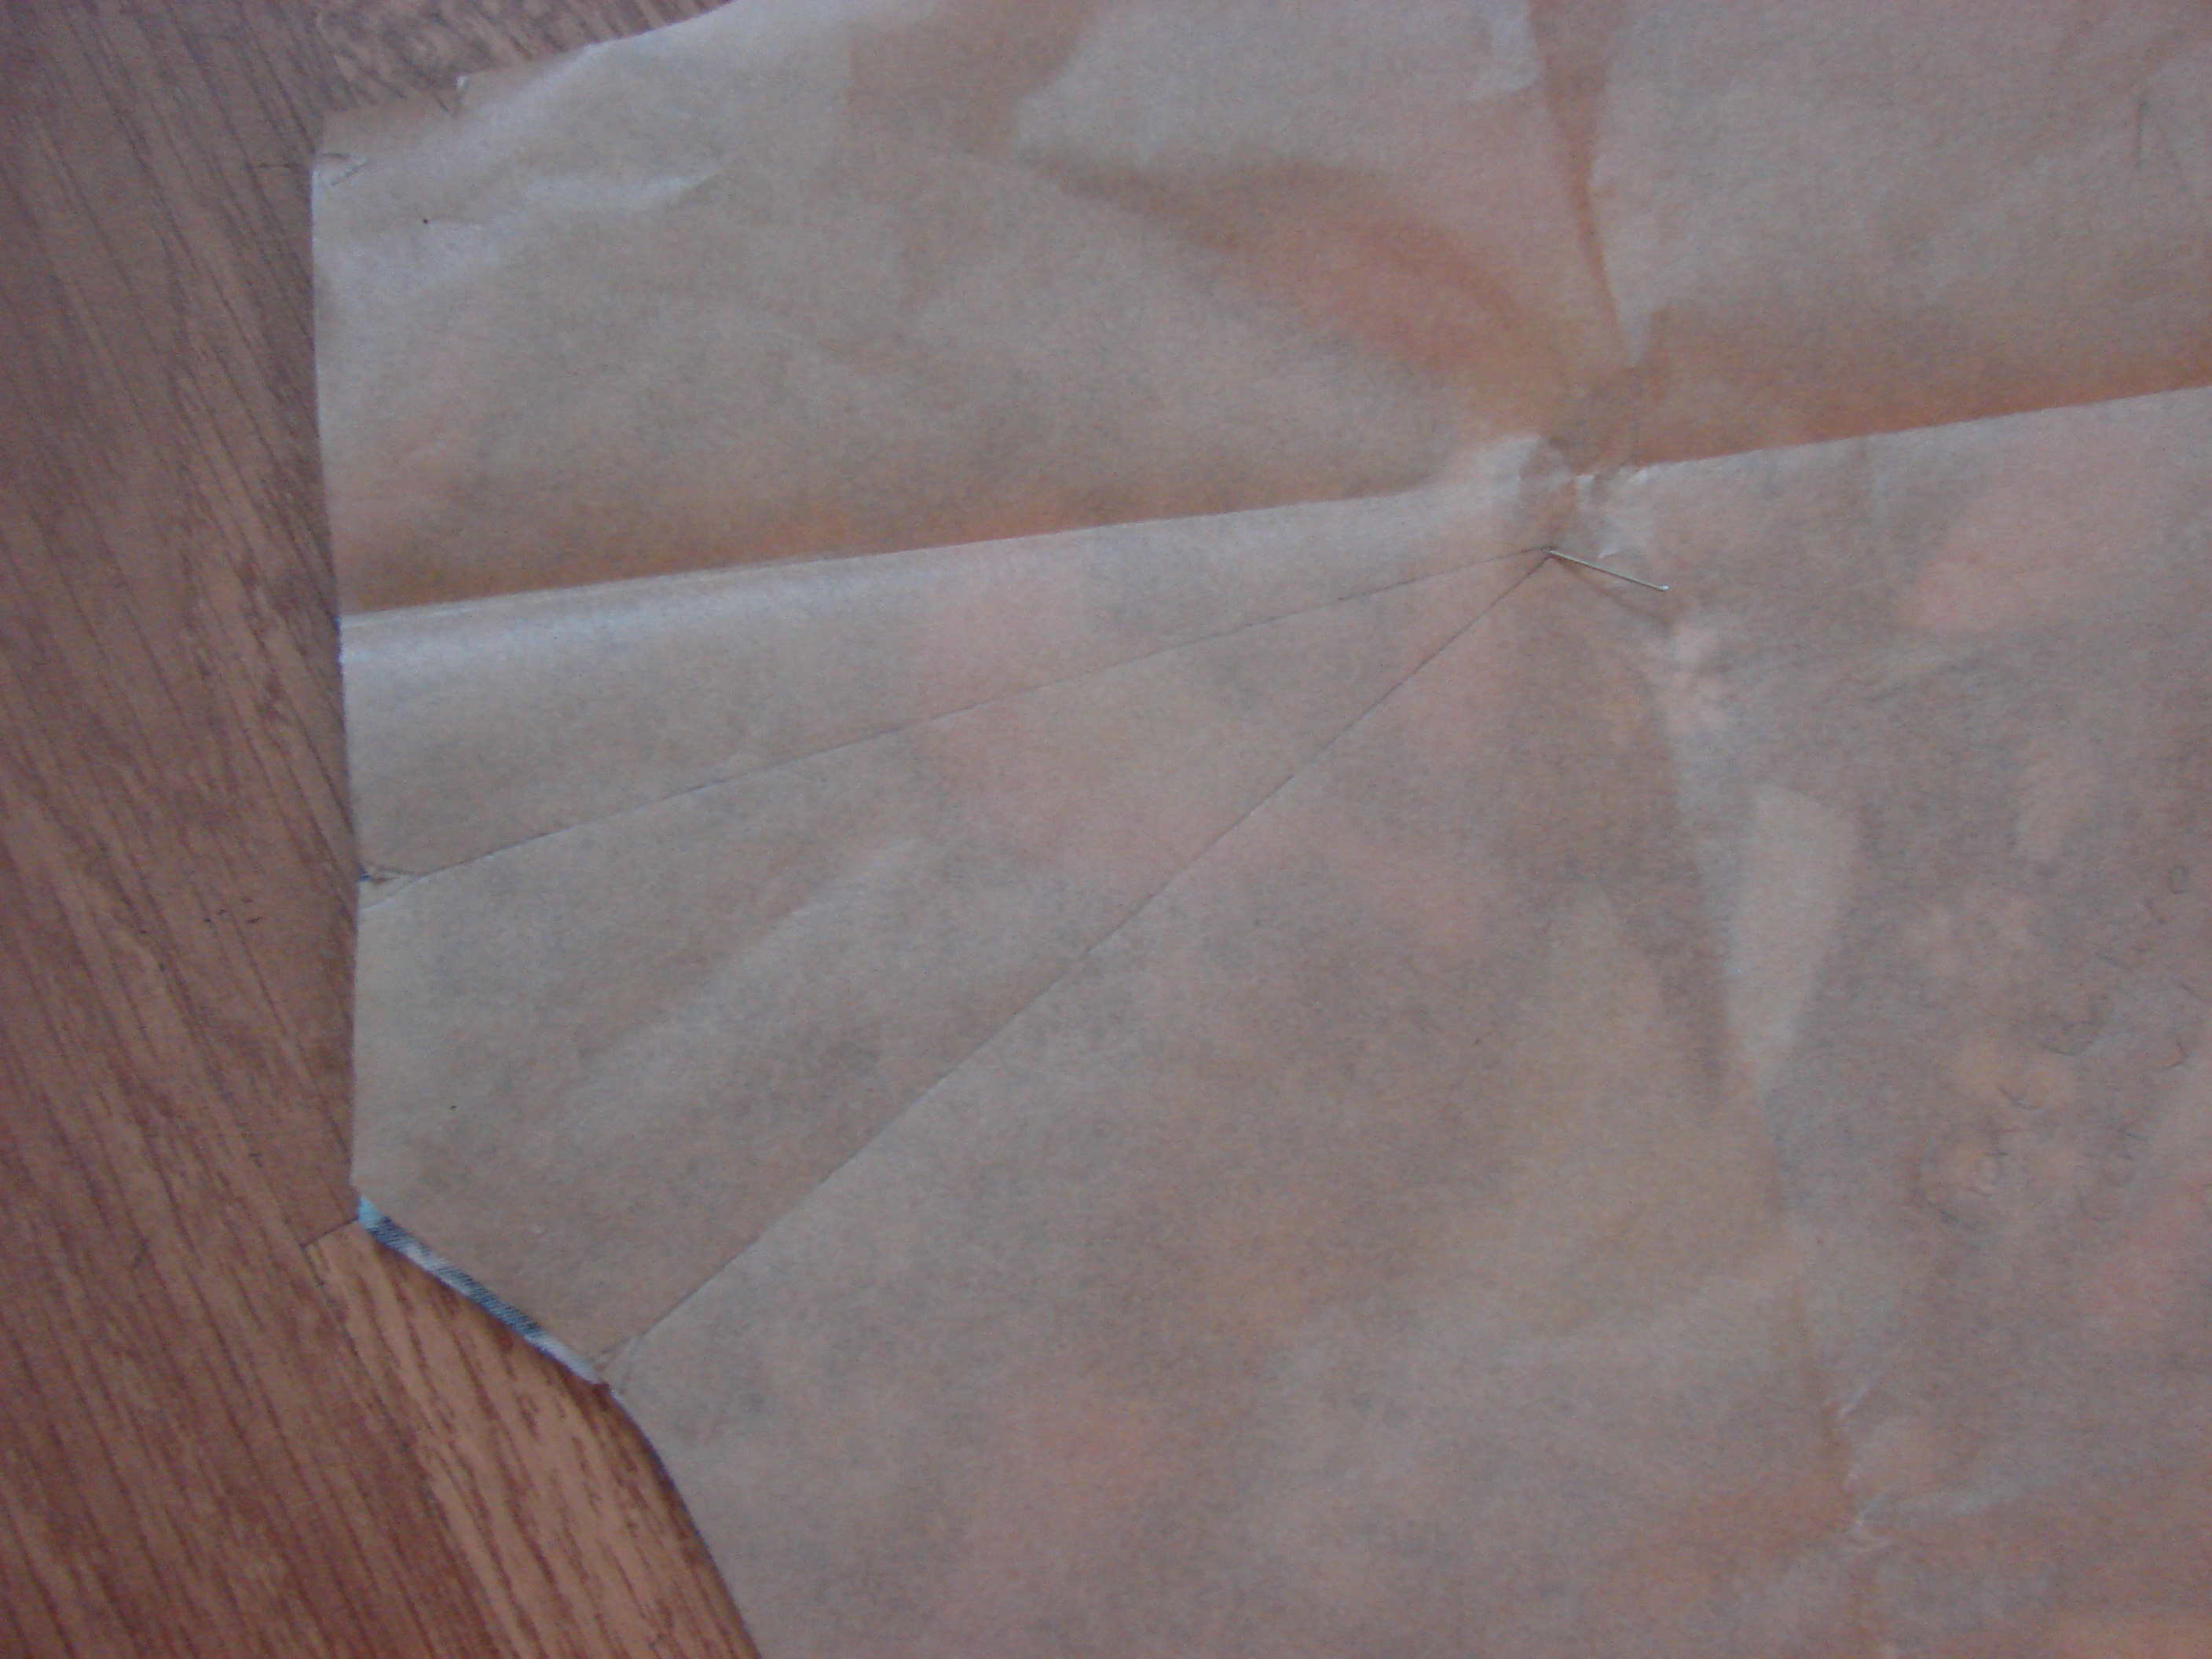
Now then, you can go ahead and cut straight into the paper pattern to the size you require but if your like me and like to keep my paper pattern intact then trace your pattern onto the paper and to make sure you add any nothces/markings onto the paper then cut out like shown below:

According to my measurements i had to grade to 12 for the hips but Size 10 for the Bust and Waist but that is easy enougth to do like I’m going to show you here:
First of all i measured from my collar bone down to my my waist using a tape measure which was 15cm and to include the Seam allowance of 1.5cm, i measured 16.5cm from the top of the front piece of the dress and marked it where my waist would be.

From there, i drew a slight curve from the Size 10 to the size 12 mark and then carried on that line to the bottom of the dress.

Then repeat the same steps for the Back of the dress piece also.

Now after grading if you need to, you should have the following pattern pieces:
1 x Front Bodice, 1 x Back Bodice, 1 x Front Facing, 1 x Back Facing, 1 x Sleeve and 1 x Collar (an extra piece if your joining in with me making a contrast cuff)

Fold the fabric Right Sides Together selvedge to selvedge and places the pattern pieces on the top. Align the straight grain line on the pattern piece to grain of the fabric and either pin down the pieces.
I found to keep the pattern going the right way i had to flip the pattern piece with the markings facing down to the fabric.

So just be careful when cutting out your pieces that if you have definite pattern that only goes one way to make sure it’s the going in the same direction as the other pieces.
Then of course cut away!
Which then you should have the following pieces:
1 x Front Bodice Piece which was cut on the fold, 2 x Back Bodice Pieces, 1 x Front Facing Cut on the Fold and 1 x Interfacing of the same, 2 x Back Facing and 2 x Interfacing of the same, 2 x Sleeve and 4 x Collar and 2 x Interfacings of the same.
If your joining in with the Cuffs, 4 x Cuff pieces and 2 x Interfacing of the same.


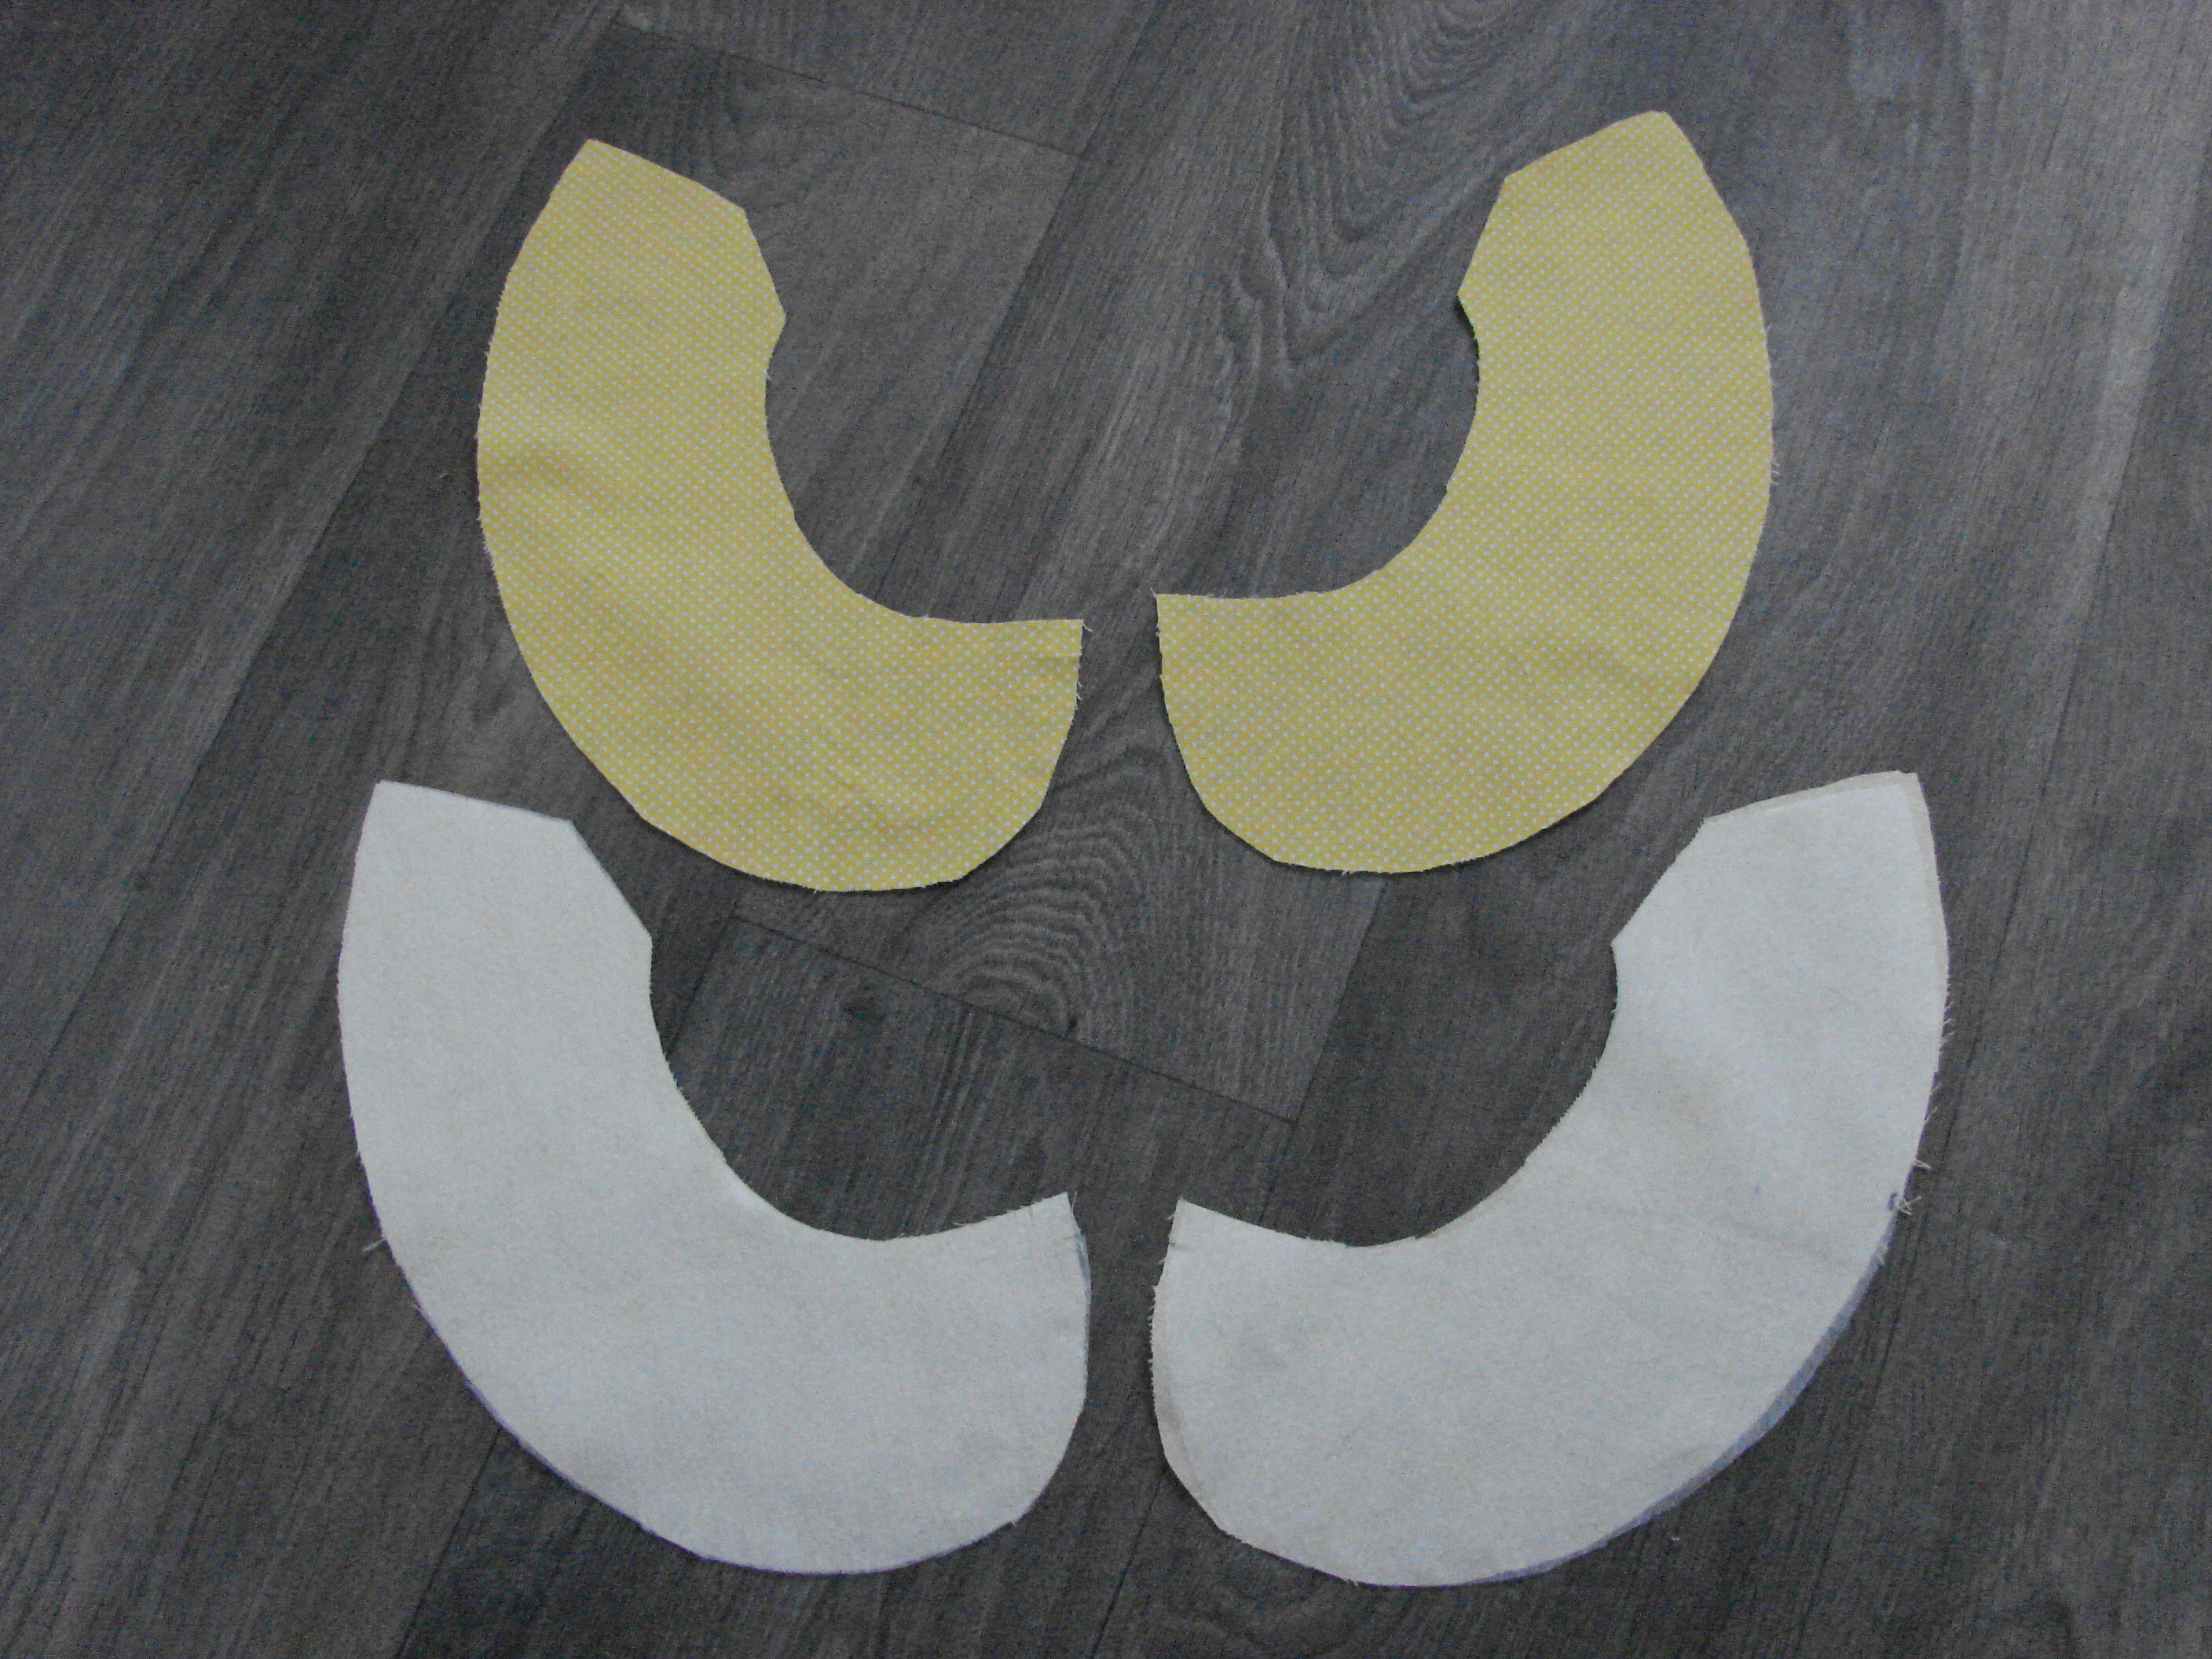
Now to add the Interfacing to the Now to fuse 2 pieces of the Interfacing to the Wrong Side pair of collars that you will use as the bottom pieces so you will have 1 pair of Interfaced Collar pieces, 1 pair of Collar Pieces , the Front Facing, Back Facings and the Cuff Pieces.

With ironing Interfacing you have to be careful of not to scorch your fabric but for it to be hot enough to fuse the Interfacing. So what i tend to do is to use a tea towel over my fabric and Interfacing and gently steam on top. When applying Intefacing you always apply to the wrong side of your fabric.

And voila no scorchy mess! Do you like my Yorkshire Tea Towel too? I am a Yorkshire lass after all. 😉

Sew a line of gathering stitches along the sleeve head curve (gathering stitch is a stitch where the length of the stitches are quite long and you don’t back tack and either side and leave plenty of tails at either end).


Pull the threads to gather the sleeve so it will fit into the armhole. Repeat for the other sleeve.

Now onto Sewing the Darts!
A handy tip for the darts i put a pin through the paper and fabric then gently pull away the paper to leave the pin in the fabric then match up the lines to the bottom of the dart with tailors chalk for ease of sewing.


Now with Darts i tend to start from where the Dart ends so its easier to keep that perfect sewn line just to rember dont back stitch here just tie the ends together as this prevents the dart looking bulky not a good look to have madonna style points LOL! But back stitch at the end of the dart (the widest bit) to secure.

Now repeat for the other side and press them so that they are facing the centre and you should have something like this,

With the Right Sides Together join the Front and Back Bodices together at the Shoulder Seams and press the Seams open.


Woo hoo we are getting there! Now onto the lovely Peter Pan Collar 🙂
Sew the bottom and top piece of the left collar Right Sides Together but leave a gap of about 2 inches for you be able to turn the collar through.


Trim the Seam to 0.5cm and snip or make notches around the curved edges and turn the collar to the Right Sides and Press. Now to repeat for the other side of the Collar.

To attach the Collar to the Dress!
With the Wrong Sides of the Collar facing the Right Sides of the Dress. Pin in place making sure the Front Collars meet at the Centre of the Neckline.

Stitch in place around the Neckline using a 1cm Seam Allowance.

Pin the Neck facing in place Right Sides Together with the Collar and pin in place and remember to line up your notches too!

Stitch the facing in place slowly using a 1cm Seam Allowance and to take the pins out as you sew.

Trim the Seams and notch around the curves.
Turn the Facing through to the inside of the Dress and press flat. There is your collar all nice and neat!

Now onto the pesky Sleeves!
With the Right Sides Together, attach the Sleeve to the Armhole, starting from the left and remeber to make up the notches also.

Now you sleeve will look like this and to repeat for the other one.

Also remember to take out your Running Stitch!

Then trim the Seam Allowance and Zig Zag/Overlock to neaten both Armhole Seams.

Now onto joining the Sleeves together 🙂
Now Start at either side of the Dress, Join the Sleeve and Side Seam of the Dress Right Sides Together.

Not forgetting to match up you nothces too.

Start from the Sleeve hem contentiously all the way down to the Dress hem and repeat for the other side.

Now onto the Invisible Zip, we are nearly there folks!
Flip the facing up on the Right Side of the Bodice and Pin one side of the zip Right Sides Together to the Back Bodice and then tack to secure as this will make it stay in place easier than pins when sewing.


Remember to change your foot to the invisible zip foot and to stitch as close as possible to the Zip teeth and when sewing try to get as near to the bottom of the zip as you can.


Then repeat onto the other side but remember to check that the zip is aligned at both sides as you don’t want a mismatched length zip lol!

Now to finish the back of the Dress and remember to take out your taking Stitches and not your actual zip stitches 🙂

Not to sort out the facing to stop it from sticking up and lay flat on the inside of the Dress.
Fold your Facing over the top of the Zip so that the facing is Right Sides Together with the Back Bodice and the stitch along the side of the Zip through the Facing and the Bodice and snip the top corners.


So it only left a tiny mrk but it really keeps that facing down! Then turn the facing back to the inside of the Dress and press flat.
Turn the Dress back to inside out and that the Right Sides are Together and Sew from the last stitch you made on the Zip all the way down to the Hem.

Not forgetting to neaten your Seam Allowances too.
Then open out the Centre Back Seam and Press and there you are once nicely inserted Zip!


When you turn the Dress back the other way it should look like this!

So if your not following to add Cuffs on you would hem your Sleeves here (I would normally use 2.5cm) and to Hem the Bottom of the Dress where i used 1cm and here is one Cool Tunic! Hurrah! I’m a bit of Seam neaten freak so i would Overlock/Zig Zag Stitch the ends of my sleeves and Dress before I hemmed them.
Now onto my lovely contrasting Cuffs 🙂
Now bear with me as this was 1st go at Cuffs but i think i got it pretty darn okay!
Now to cut out 4 x Fabric of your choosing for the Cuffs together with 2 x Interfacing and of course apply the interfacing to 2 pieces of the Cuffs.

When sewing i used 1cm Seam Allowance so i wanted an 2 inch Cuff and added 2cm Seam Allowance for each so my height altogether was 2 3/4″ and the width is the same as the Sleeve Pattern.
Now Make each pair by using 1 x interfaced and 1 x normal fabric with the Right Sides Together, pin and sew along the length of the cuff.

Then trim the Seam Allowance to 0.5cm and Press so it looks like this:

Now with the Right Sides Together, pin the Cuffs on the Short edge and sew along so it makes a tube.

Then Trim the Seam Allowance again to 0.5cm and Press. Finish the edges by Overlock/Zig Zag Stitch and repeat for the other Cuff.

Now we are nearly there!
Now turn your sleeve inside out and insert one of the tubes with it being the right Side out over the sleeve. Pin in place and stitch using 1cm Seam Allowance.

When you turn the Sleeve the right way out it should look like this but don’t panic it’ll come right! Now pin a hem of 0.5cm and stitch.

then fold at the sleeve end and it should like like this! Repeat for the other Sleeve

Then turn up the bottom of the interfaced edge by 0.5cm and hem.
And Ta-Dah!!! You have one completed The Nancy Tunic Dress! So for making the top verison you just cut the fabric where it states on the pattern and follow the same instructions 🙂

Now for moi to model the beauty!!

Then of course the back view 😉

A big thank you to Louise at Sew Scrumptious who provided the Lovely Michael Miller fabric for me to make this dress. Also a big thank you to Lynne at And Sew Forth for provided me with the lovely Makeower Polka Dot Fabric to make the Collar and Cuffs and the invisible zip too! So please go and have a nosey at their shops you won’t be disappointed!
Now i hope you have found my tutorial helpful and if you have any questions please get in touch!!
Happy Sewing
Sal x

Amazing dress, I love the fabric and and the contrast on the collar and cuffs. Very clear and helpful tutorial too.
Thank you Lynsey 🙂
[…] between sizes and your thinking where on earth do i start ?! Go and click onto my previous Tutorial here, where I’ll show you how to grade in between sizes with […]